Configure your project
To get started with In-Game Personalization, make sure you have completed the following steps:
-
Create an account on the Reactional Platform
To get started with Reactional, you must first create an account on the Reactional Platform.
-
Create a Project
After you have created your account on the Reactional Platform, you need to create a project. A project represents your game and is a container for your Apps.
-
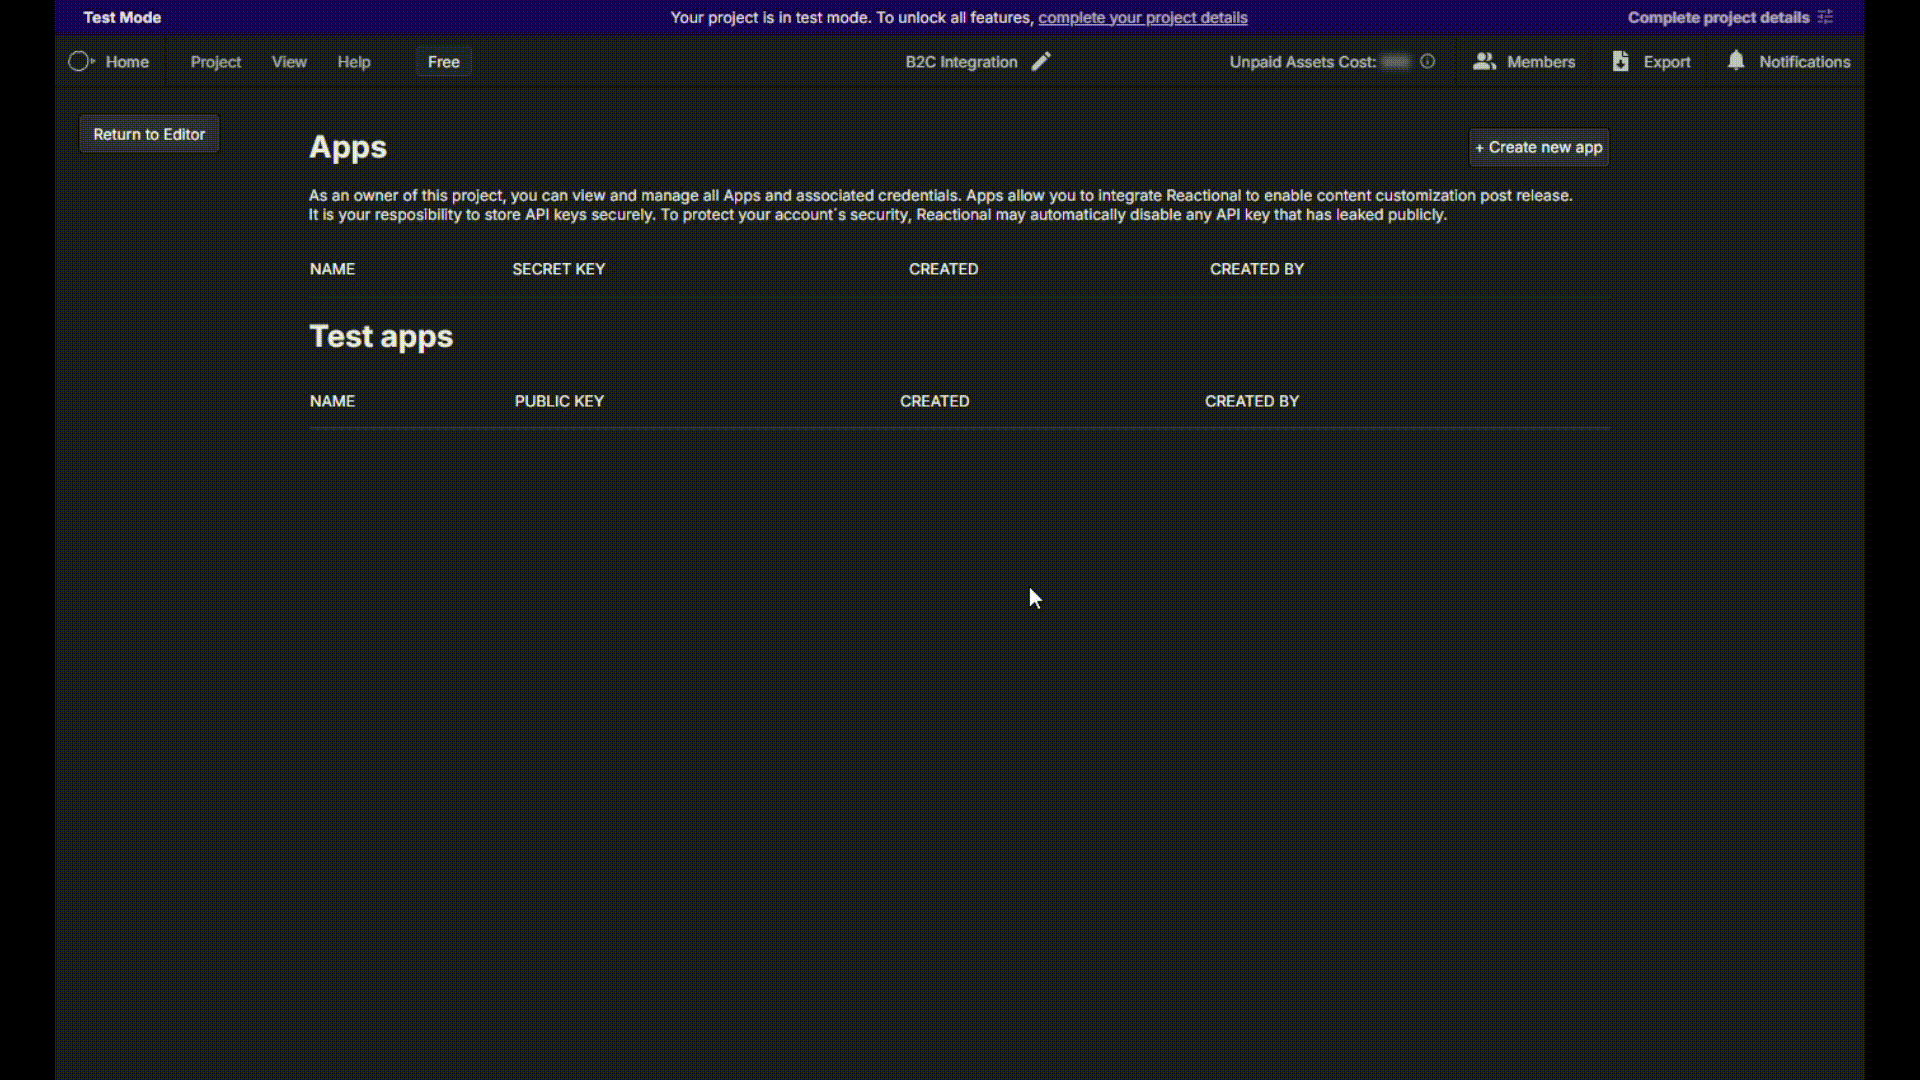
Create new App credentials
After opening your project, navigate to the
Appsview by clicking onProject>Appsin the top navigation bar: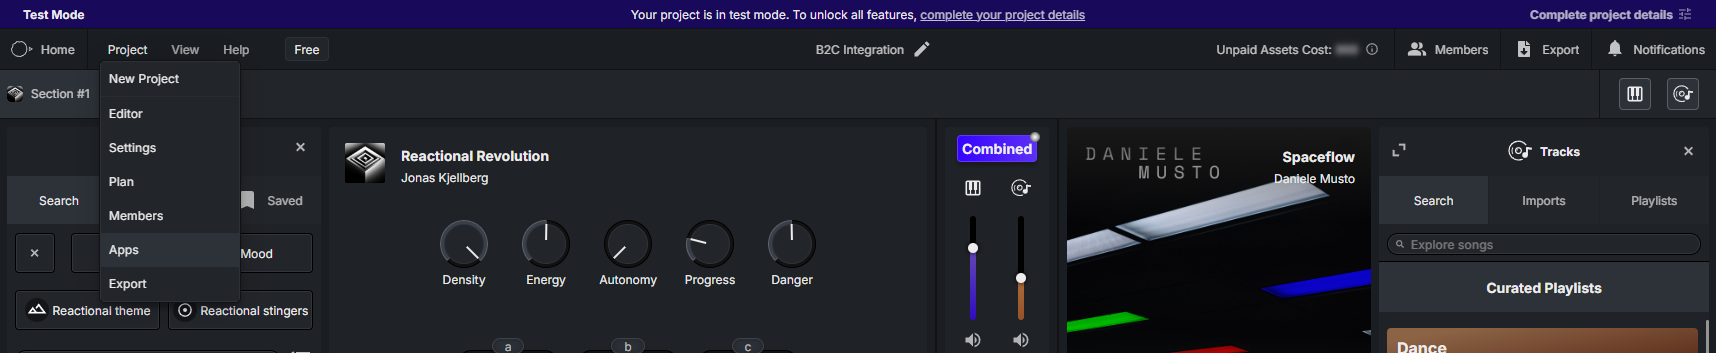
Click "+ Create new app" to create a new App for your project and obtain a set of credentials.
Enter a name for the app and choose whether you want it to be a
TestorProductionapp by toggling the corresponding checkbox. Test apps are meant for development and testing purposes, while Production apps are intended for live environments. Make sure to use Test apps during development to avoid incurring unnecessary costs.After creating the app, a dialog displays the credentials for the newly created app. Copy and store them securely, as you will not be able to view them again after dismissing the dialog. Credentials consist of an
App IDand anApp Secret, which are confidential, as well as aProject ID, which can be embedded in client-side code.
-
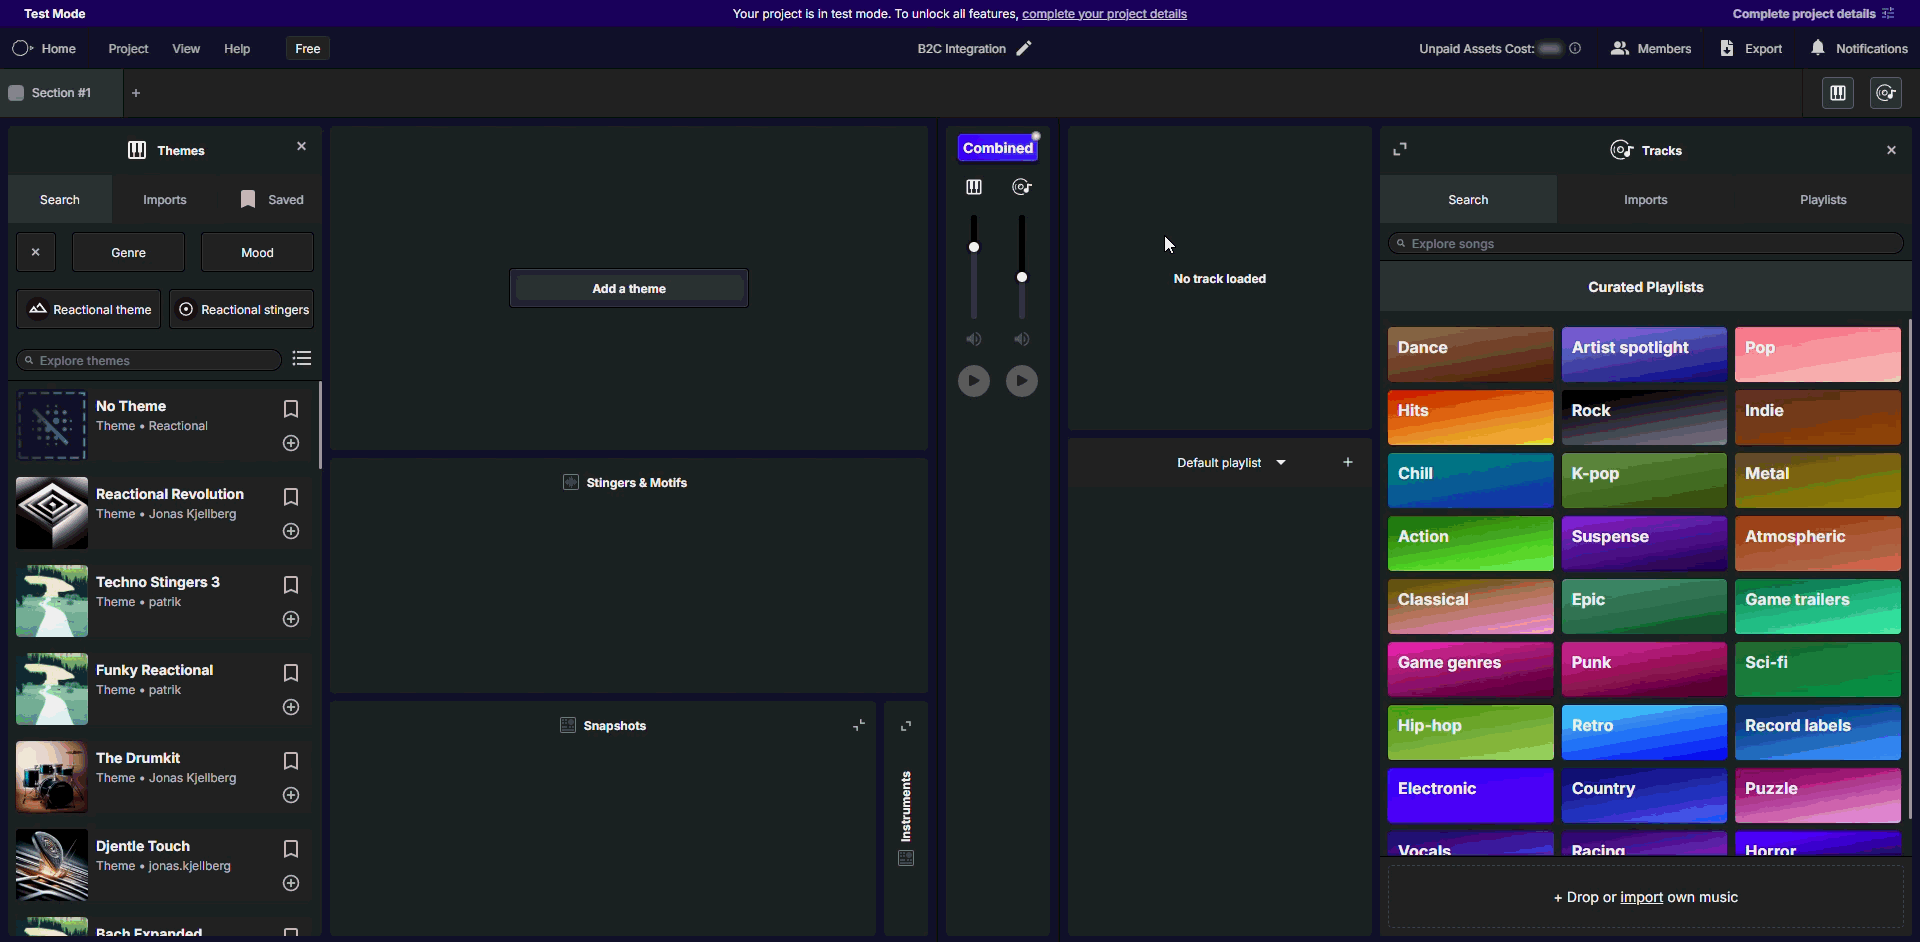
Enable a playlist for In-Game Personalization
To make tracks available for In-Game Personalization, you need to enable at least one playlist in your project. In the playlist section of the Project Editor view, right-click a playlist and select
Enable for B2Cfrom the context menu. You can enable multiple playlists if you want to offer a wider selection of tracks to your players.
What's next?
You're all set! You now have everything you need to start integrating Reactional's In-Game Personalization solution into your game. Before you proceed, you may want to learn about the key concepts behind Reactional's In-Game Personalization solution.